How can we help?
Get help straight from our team...
smartadmin
Active Directory Sync - Setting Up Our Tool On Your Windows Server
How to setup the tool, and run the tool on your Windows Server
Updated 6 days ago
Steps To Get Started in Windows with AD Sync
In order to get started with AD Sync please follow these steps:
You must first log into the Realsmart Admin area as an Admin.
Before installing AD Sync, ensure that your Windows Server has .NET 6 installed. You can download .NET 6 from here.
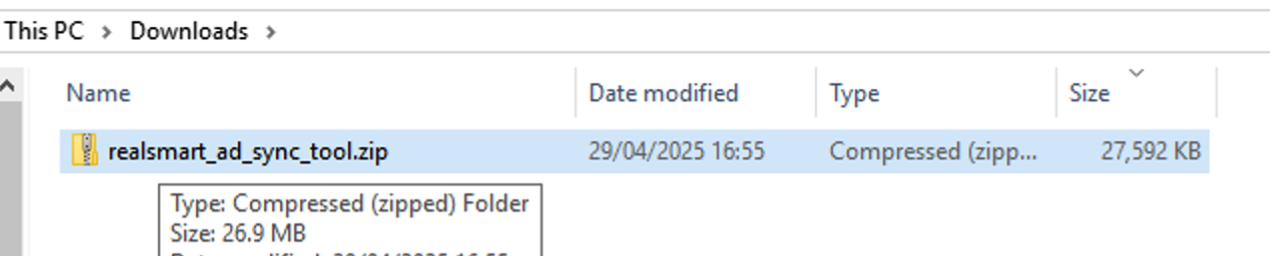
Unzip the application on your Windows Server
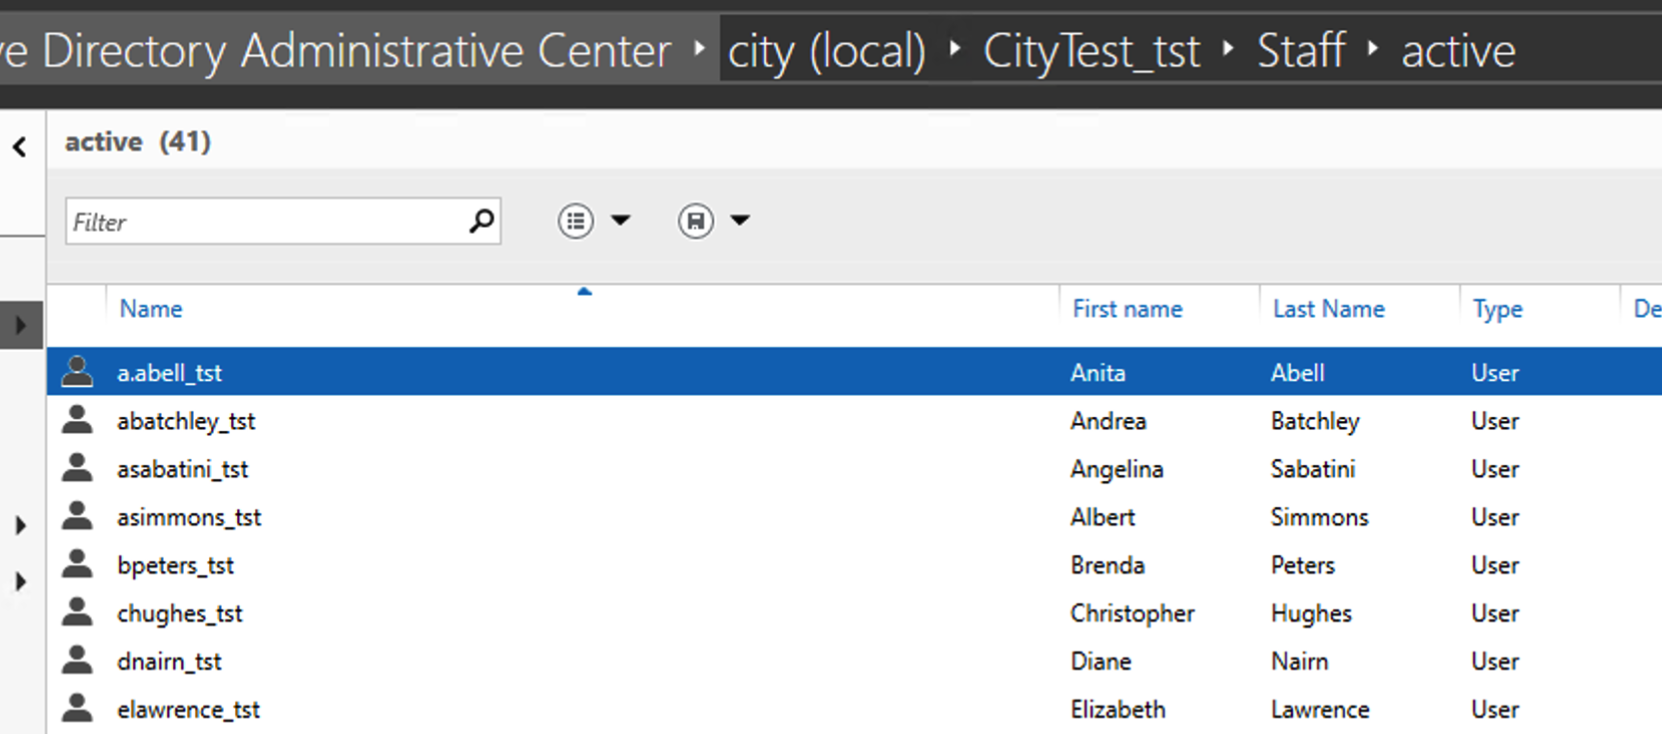
*IMPORTANT When first running, please turn ON test mode this will add a _tst to the end of objects to make it easier to delete incase you are not happy with the sync and need to adjust some settings
On Your Windows Server
Download the zip file from the link in point 3 above, and unzip the folder to a location of your choice:

Setting Up The Application For Your School
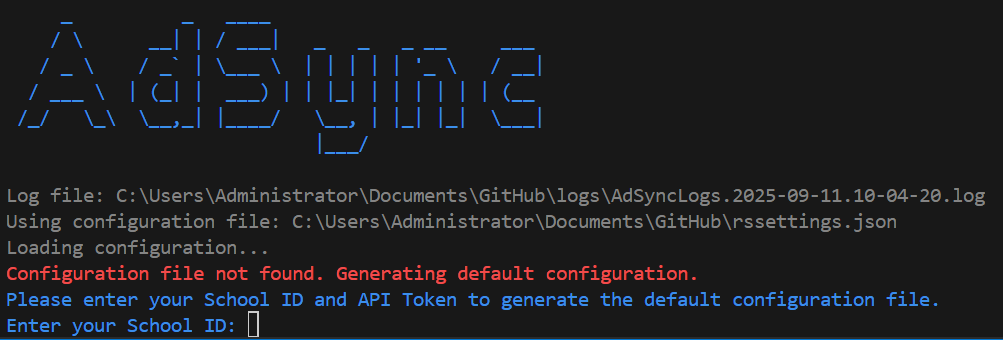
On your first run you will be prompted to insert your school id and token
Enter your school ID and Token found at the bottom of the General Settings area.
Running The Application
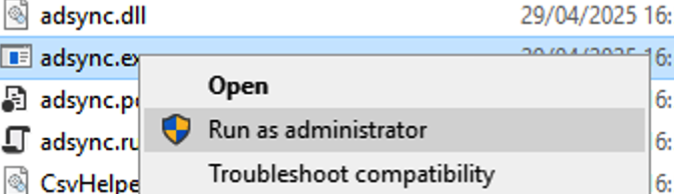
Right click on adsync.exe and Run as administrator
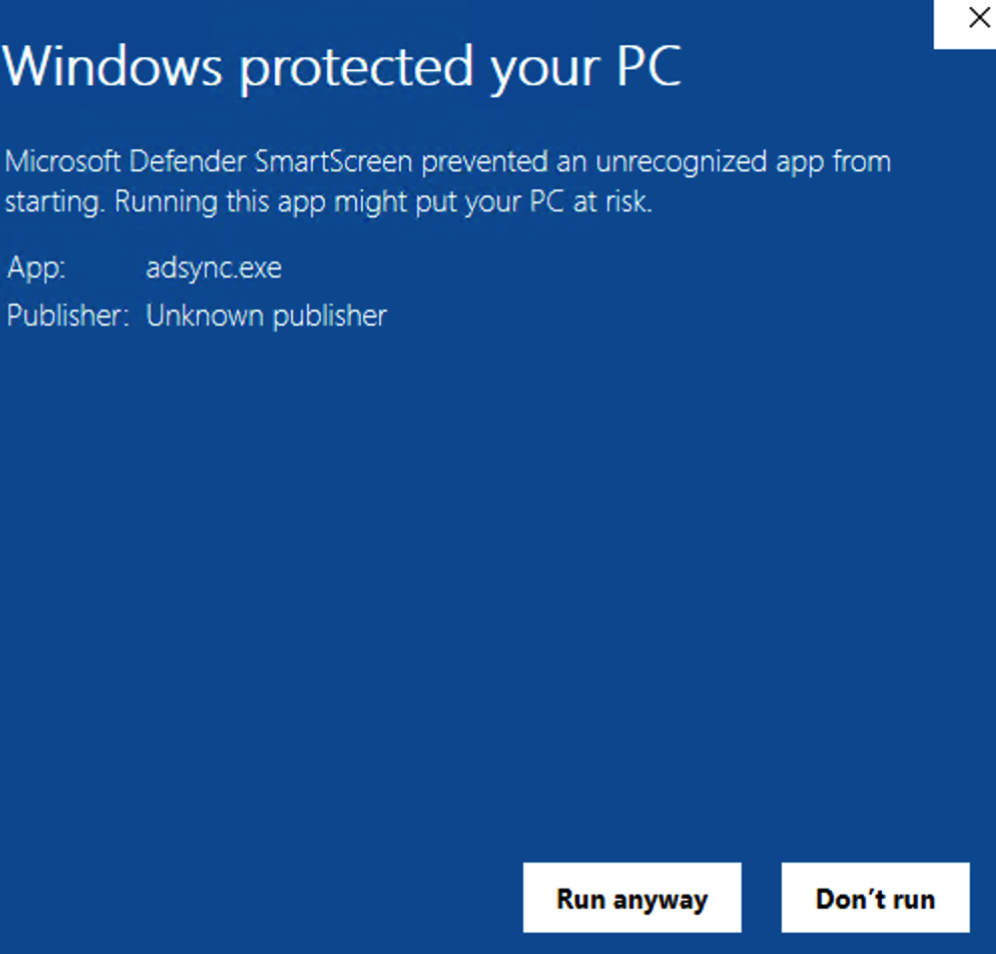
Click "More Info" on the protection notification if it pops up
Select Run Anyway
Sync Complete
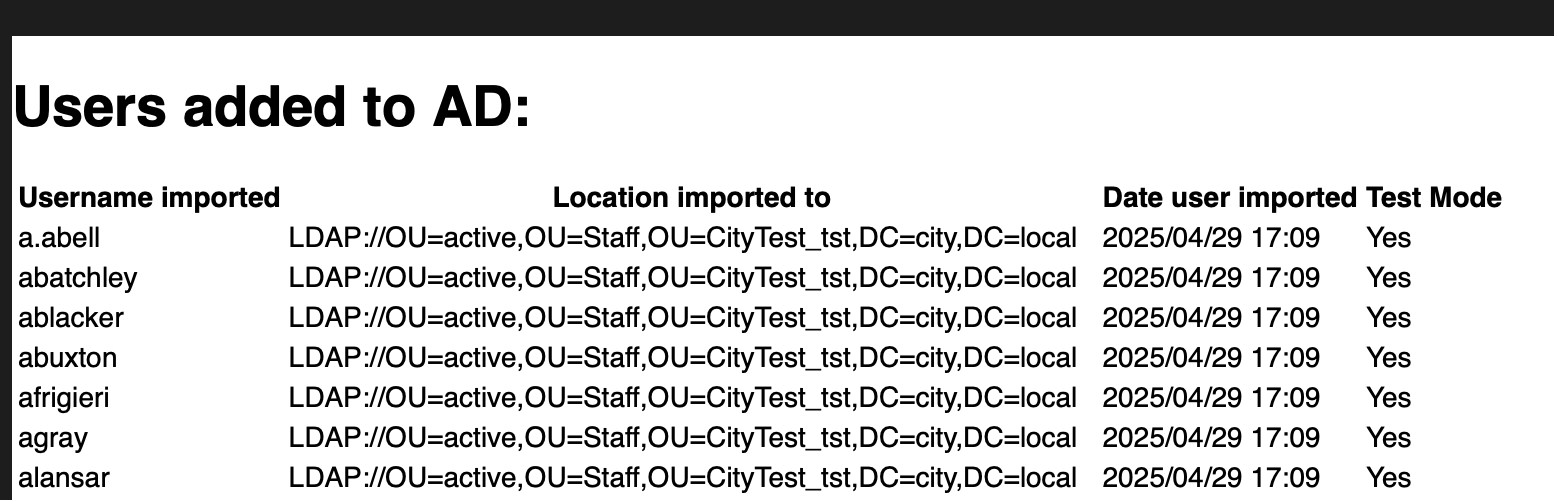
When your sync completes, you will get the following message from the terminal window, and an email will be sent to the "Technician Email" which can be set in the School Settings area https://provision.realsmart.co.uk/admin/settings?page=details.
The email will be sent *to the Technician Email address, and will display as follows:
Checking Active Directory For The Newly Created Users/OU
You can then check AD for the newly created OUs, users and group memberships: